
Foot pumps are essential tools for various tasks, from inflating tires to pumping air into inflatable boats or outdoor equipment. One critical component of these pumps is the foot pump valve, which plays a vital role in the efficiency and effectiveness of the pump. Regular maintenance of the valve can ensure optimal performance and longevity. In this article, we will explore practical DIY maintenance tips for your foot pump valve, helping you keep it in top condition.
Understanding the Foot Pump Valve
The foot pump valve serves as a one-way gate for air, allowing it to enter or exit the pump while preventing backflow. Most foot pumps utilize a simple design, often comprising rubber or plastic components that are subject to wear and tear. Understanding the workings of your foot pump valve is crucial for effective maintenance and troubleshooting.
Common Issues with Foot Pump Valves
Before diving into maintenance tips, it is beneficial to understand the common issues that can arise with foot pump valves:
- Air Leakage: A common problem, often caused by worn-out seals or cracks in the valve body.
- Sticking Mechanism: Dirt and debris can accumulate, causing the valve to stick.
- Noise: Unusual sounds may indicate misalignment or damage to the valve components.
- Inconsistent Inflation: This can result from blockages or malfunctioning parts within the valve.
DIY Maintenance Tips for Your Foot Pump Valve

Now that we’ve outlined the common issues, let’s discuss actionable maintenance tips that you can implement yourself to keep your foot pump valve functioning optimally.
1. Regular Inspection
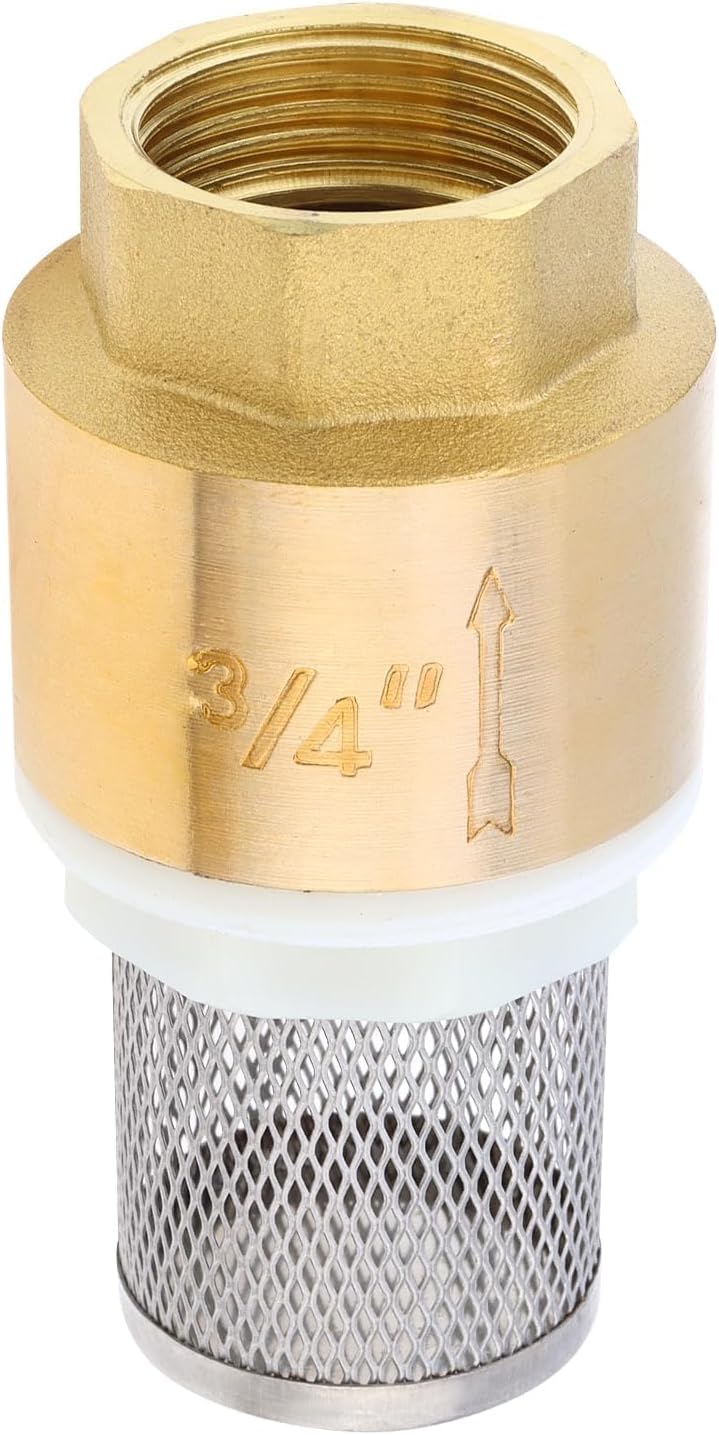
Performing regular inspections can help you catch potential issues before they escalate. Here’s how to do it:
- Check for visible cracks or damage to the valve body.
- Inspect the seals and gaskets for wear and tear.
- Look for any debris or dirt that might obstruct the valve’s movement.
Conduct these inspections monthly if you use your foot pump frequently, or at least once every few months for occasional users.
2. Cleaning the Valve

Keeping the valve clean is crucial for its longevity. Follow these steps to clean your foot pump valve:
- Disassemble the Pump: Carefully take apart the pump, focusing on the valve area.
- Use a Soft Brush: Gently brush away any dirt or debris using a soft brush.
- Rinse with Water: Rinse the components under running water to remove any stubborn particles.
- Dry Thoroughly: Ensure all parts are completely dry before reassembling to prevent mold or rust.
3. Lubrication

Lubricating the moving parts of the valve can help prevent sticking and ensure smooth operation. Here’s how to do it:
- Choose the Right Lubricant: Use a silicone-based lubricant, as it is safe for rubber and plastic components.
- Apply Sparingly: A small amount goes a long way; apply just enough to coat the moving parts.
- Wipe Off Excess: Remove any excess lubricant to prevent attracting dirt and debris.
4. Seal Replacement

If you notice air leakage or the valve isn’t sealing properly, it may be time to replace the seals. Follow these steps:
- Identify the Type of Seal: Check the manufacturer’s specifications for the type of seals used in your pump.
- Purchase Replacement Seals: You can find replacement seals at hardware stores or online.
- Replace Carefully: Remove the old seals and install the new ones, ensuring a snug fit to prevent leaks.
5. Testing the Valve
After cleaning, lubricating, and replacing seals, it’s essential to test the valve to ensure it operates correctly:
- Reassemble the Pump: Put all components back together carefully.
- Inflate Something: Use the pump to inflate an item and check for consistent airflow.
- Listen for Unusual Noises: Pay attention to any odd sounds that may indicate issues.
Case Studies: Real-World Applications
To illustrate the importance of maintenance, let’s look at a couple of case studies:
Case Study 1: The Inflatable Boat Owner
John, an avid boater, often uses his foot pump to inflate his inflatable boat. After a summer of frequent use, he noticed that the pump was losing air quickly. Upon inspection, he found that the valve seals had worn out. After replacing the seals and cleaning the valve, John noticed a significant improvement in performance, allowing him to enjoy more time on the water without interruptions.
Case Study 2: The Cyclist

Sarah, a cyclist, relied on her foot pump for tire inflation. After experiencing inconsistent inflation, she decided to inspect the valve. A thorough cleaning revealed a buildup of dirt that was causing the sticking mechanism. After cleaning and lubricating the valve, her foot pump worked like new, providing reliable service for her biking adventures.
Statistics on Foot Pump Maintenance
According to a study by the National Association of Home Improvement, regular maintenance can extend the life of tools like foot pumps by up to 50%. Furthermore, a survey conducted among outdoor enthusiasts found that 75% of users experienced improved functionality after performing basic maintenance on their equipment.
Maintaining your foot pump valve is crucial for ensuring the longevity and effectiveness of the pump. By regularly inspecting, cleaning, lubricating, and replacing seals, you can prevent common issues such as air leakage and inconsistent inflation. Real-world examples show that proactive maintenance not only enhances performance but also saves users from unexpected inconveniences. Remember, a well-maintained foot pump valve can lead to more enjoyable and hassle-free outdoor or automotive experiences. With these DIY tips in hand, you can confidently take care of your foot pump and ensure it serves you well for years to come.


